 |
| (Christmas 2011 ) |
I had a request for a tutorial for this project so here we go ... it's long but not difficult ...

The base is a flat, 3.5 inch paper mache ornament, I get these at Hobby Lobby

(I can't find these year 'round, only in the fall)
I paint the barn (inside and
out) and base with White Acrylic paint, let it dry
I paint the barn’s red
areas, and let them dry.

Then I cover the entire
surface with Sparkle Modge Podge

here's some of the supplies used
Now the fence …

well ... on this project it was a challenge, I couldn’t find the fence I previously used ... so after making a big mess I came up with this …

I used 2.5 inch “craft sticks” or Popsicle sticks cut to fit.
My fence has four pieces vertical and a single horizontal length. Paint the fence, let it dry, then glue it
onto the barn.

I add a deer under the fence on the back of my barns
When the fencing is in place then glue the barn to the base ... I use a glue gun for pretty much all my gluing.
Side note here ... days later :) ... I found the fence I wanted at Joann's ... so you can see the fencing options and how they compare

(please forgive my out of focus pic)
Now you’re ready to
embellish your “Barn”

I add tinsel garland to the base, used 3 tiny trees (the one to the left is decorated with a tiny snowflake garland), all are glued in place,
given a coat of Modge Podge Glitter, and then Snowtex.
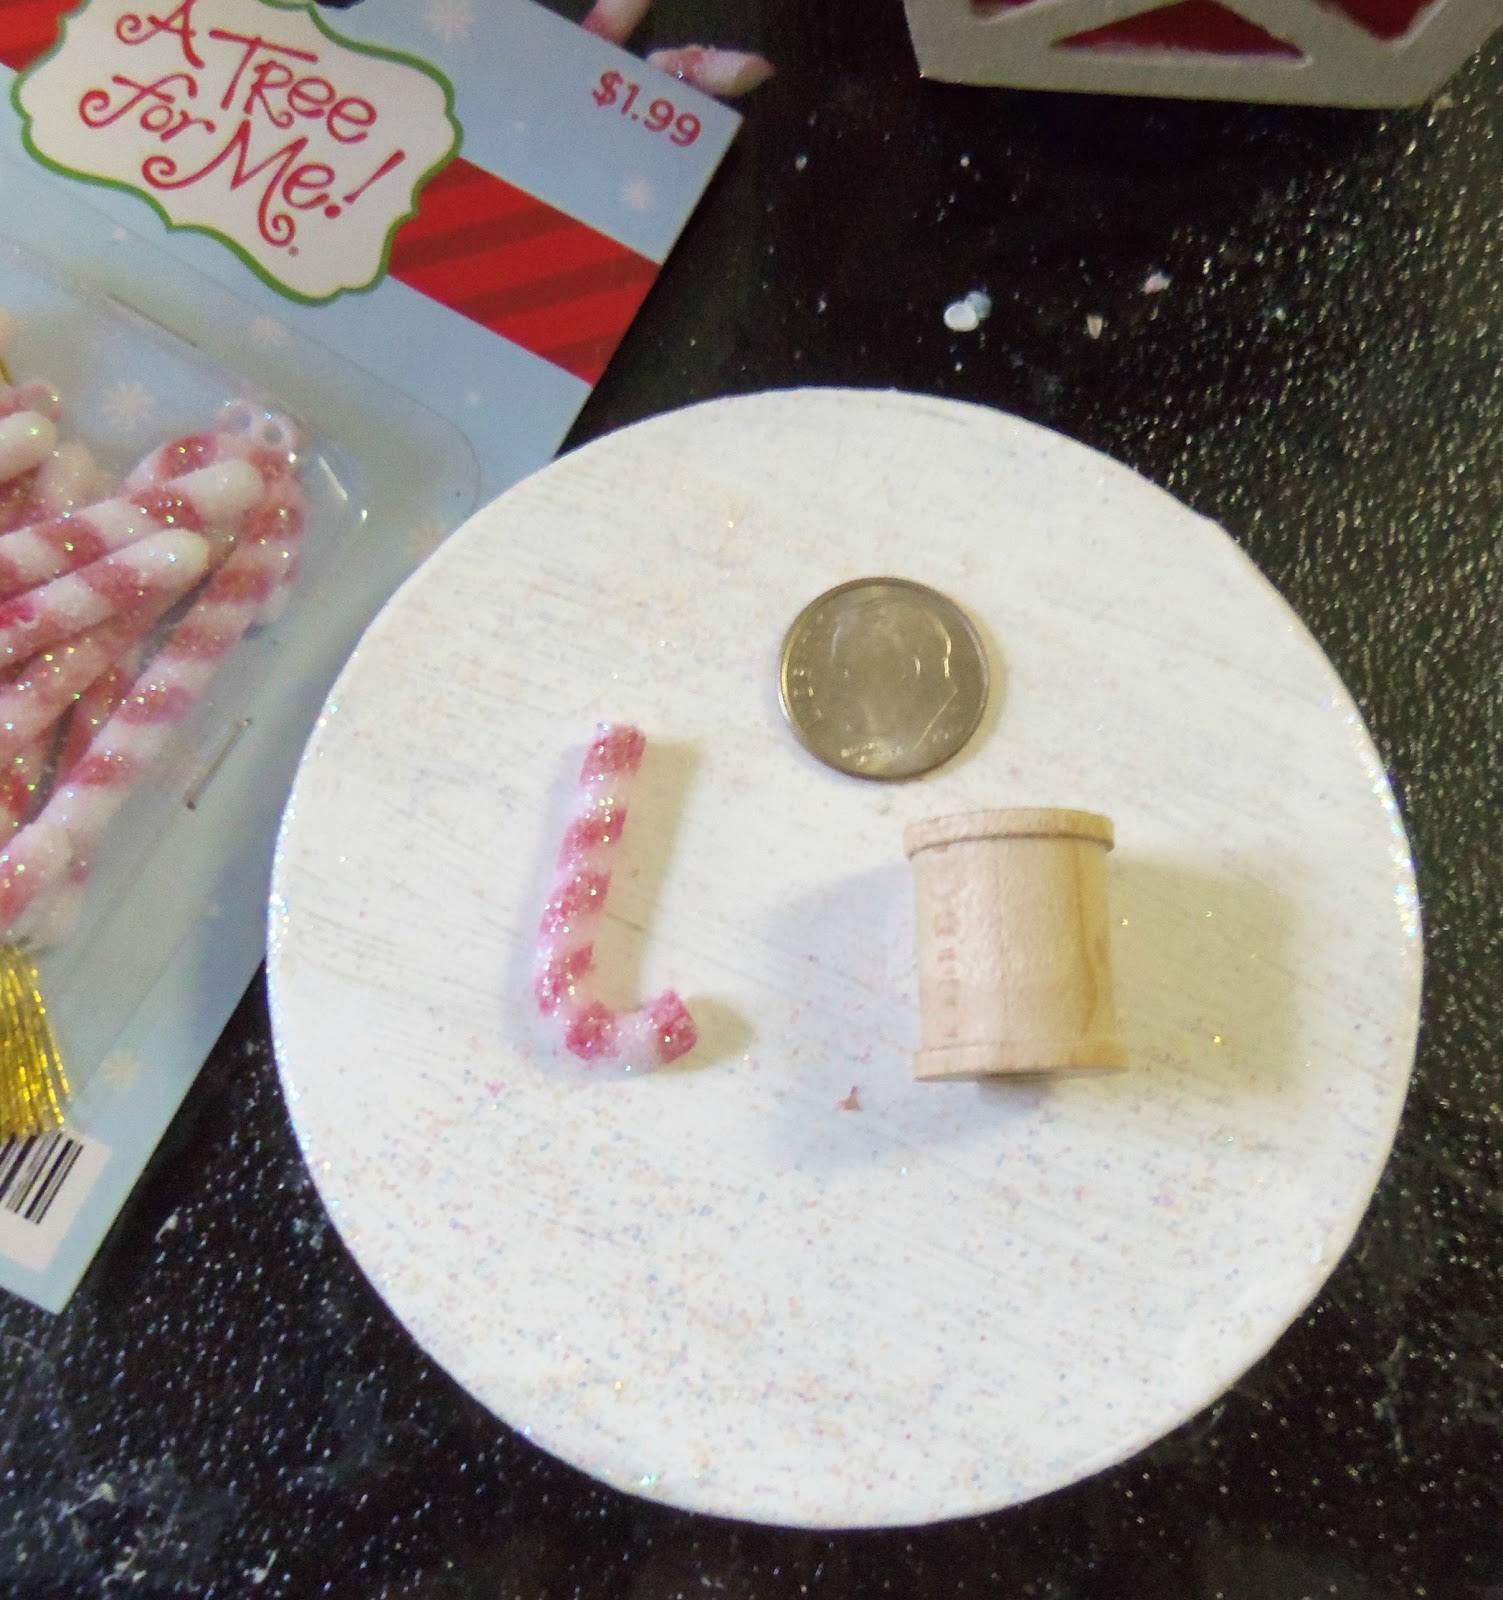
The rain barrel is a tiny
wooden spool covered with flat tooth pics, and painted with brown acrylic, the
“band” is picture hanging wire. The
“downspout” is a mini candy cane.


The paper images are from
various internet sources, I altered the Santa’s head, because I liked the
chubby face of this Santa vs the original.
I alter the size of the images to the desired size using Microsoft Word;
Picmonkey comes in handy to improve clarity and color.

All the paper images are
painted with Modge Podge (I will abbreviate MP) …
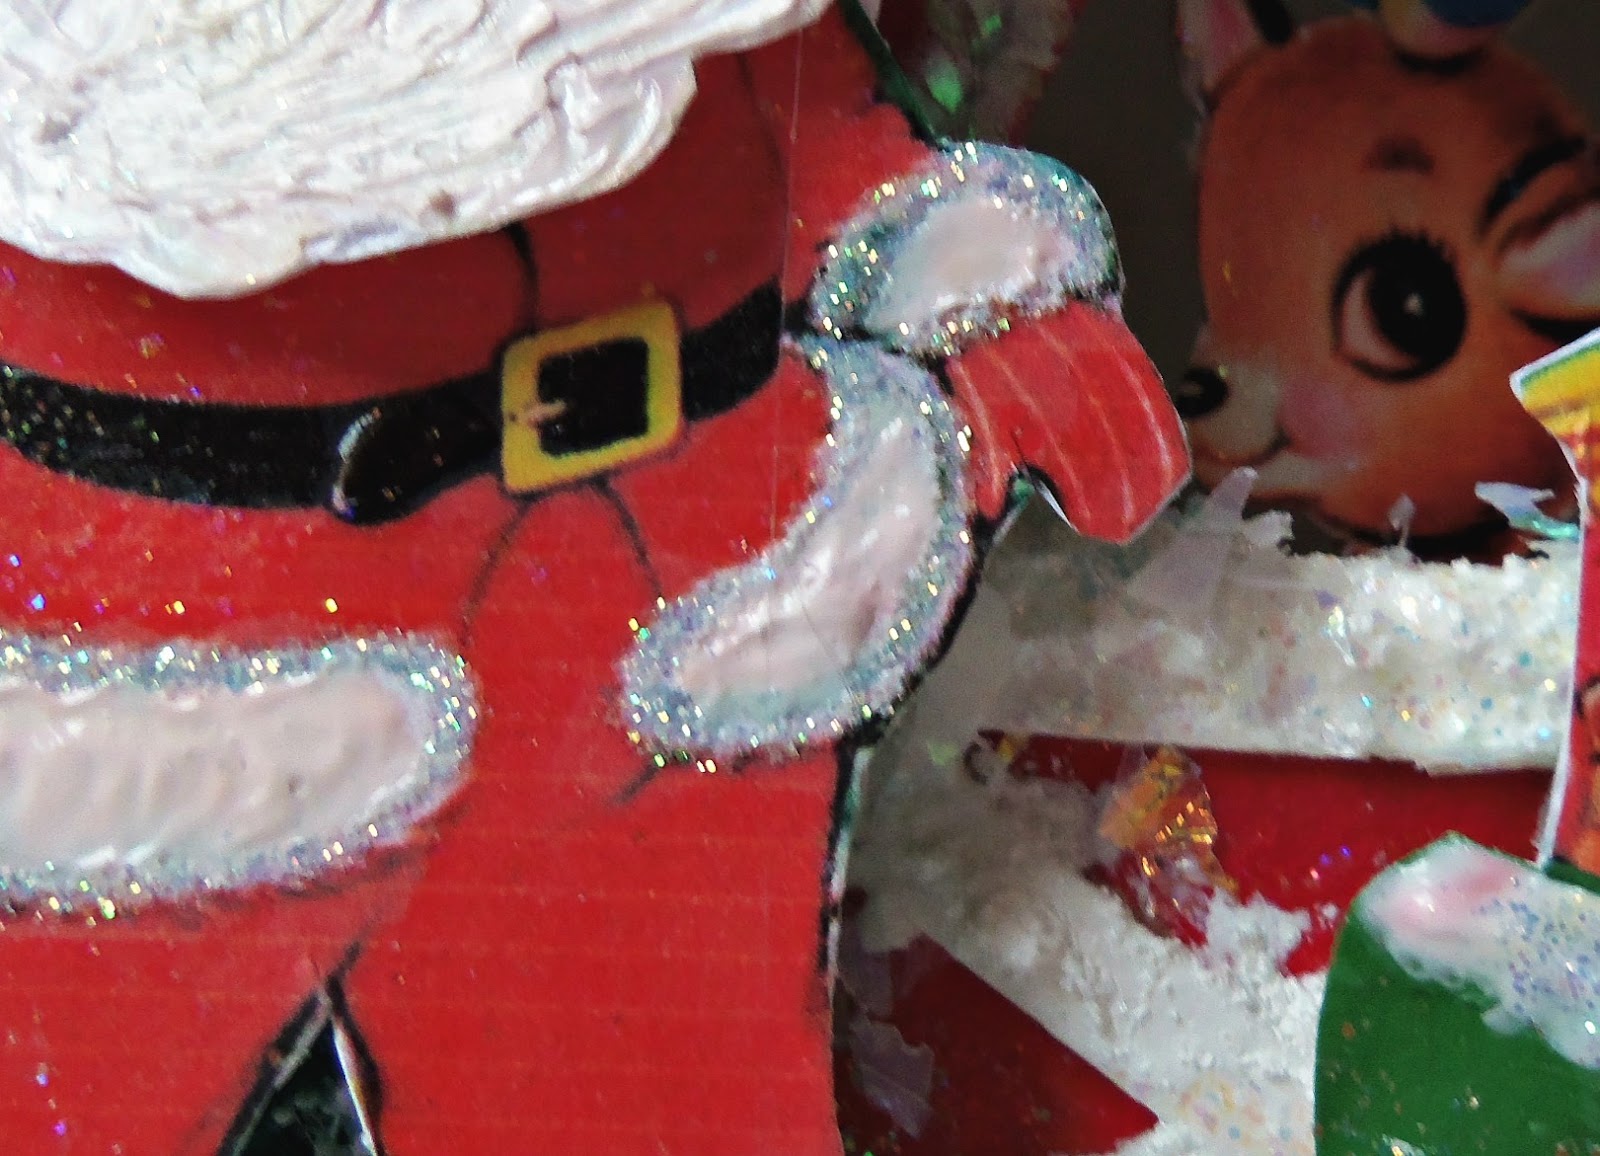
MP Sparkle on the bag, Santa’s clothing, the
deer; MP glossy on Santa’s belt and boots.
I use Puffy Paint on Santa’s beard and fur trim for dimension, I glitter
the edges of Santa’s fur trim. I finish Santa’s
back and toy bag by covering with contrasting paper.
In adding my paper images, I start with both deer, then Santa, and his bag. The tricky-est part of this project is getting the deer inside the barn !!!
(top of barn looking inside toward floor)

Sorry but you’re on your own here … I have been known to curse during this step …anyway it’s just a matter of twisting and turning and squirting glue blindly toward the barn floor ... whew now moving on ...

Next add a chenille stem
around the “door" ....

I use Snowtex (all this from Hobby Lobby) and cover the fence, roof, base, trees, and barrel/downspout … just smear it on to look like drifted snow. Let it dry.

Finally, when the Snowtex is dry, I dab MP Sparkle
over the roof, base, fence and sprinkle on Buffalo Snow (Hobby
Lobby). Let it dry …
add the bow, bells and tag, etc.
.JPG)

And there you have it !! it’s
not difficult to do but is a bit time consuming because of the steps that require
drying. If any part of this is confusing
or you have a question please let me know.

Merry Christmas 2012
Thanks for stopping by,
E
E
House (wood or make you own with cardboard)
Base (mine is 3 inch paper mache)
Fence (mine is made from 2.5 inch craft sticks, cut to fit)
Modge Podge Sparkle, Matte, Glossy
Snowtex
Paper images
Embellishments – I used tinsel trim for base, chenille stem around “door”, ribbon, bells, plastic holly, barrel (made from wooden spool and flat toothpicks), mini candy cane
Deer - Free Pretty Things for You (Thanks Keren !)
Santa and bag I think I found these on Flickr, couldn't find the link, but did find this one, the book is for sale.
Santa face (Thanks Meri !)
Your Santa's Barn is very SWEET! Thanks for the steps in making one. I'm thinking I might make some for my sisters for Christmas. Plus, I'm in a Putz house swap, where we make one, so perfect timing!
ReplyDeleteWarmly,
deb
ELAINE, Thank you so much for this tutorial! I had to sit here and read with my little house in hand to make sure I noticed every detail. I was so surprised to find the secret compartment for your gift card.
ReplyDeleteThis little house is the epitome of kitschy Christmas, and I will always remember your kindness in making it for me!
Thank you again! I have posted my cute house today! Elizabeth
How cute! I think Im about ready to start on christmas crafting now! I love the JOY letters that Elizabeth made too. I have so many other christmas crafting ideas too..
ReplyDeleteBut first.. I must finish my bear orders!
Happy Sunday and Happy Halloween!
xoxo
OHHH love this very super cute Santa house!! I think I want to make one of these! :) xo Holly
ReplyDeleteI love this! Your instructions are great! I love the candy cane downspout- that is so clever. I am going to try and make one. I do have some wooden birdhouses that I have never used that would be perfect. Thank you for the tutorial, Holly
ReplyDeleteHow cute! I am working on a putz house swap, and your ideas here are really nice to see, Thanks so much. I found your blog while I was in my Flickr and traced you back to here! Now I am following you and see a few familiar names in your following box! Glad to meet you!
ReplyDeleteBlessings
Susie
OMG! I saw this over at Miss E's place and just went crazy!!!!! So stinkin' cute as Viv would say!!!!!
ReplyDeleteElaine,
ReplyDeleteCould you please email me ? I have a question....Sandy at 52 Lake Street
sanjos333@gmail.com
This is just adorable!!! Very nice tutorial, thank you for sharing!!!!
ReplyDeleteSoooo super duper cute!!!!
ReplyDeleteAwe.... that is so.... cute! I'm going to have to make one of these or maybe two :)
ReplyDeleteThis is adorable! Thanks for the tutorial.
ReplyDelete